To break in ceramic brake pads properly, you’ll need to follow a specific bedding process that transfers friction material evenly onto your rotors. Start with 6-10 moderate stops from 30-35 mph down to 5-10 mph to warm up the components. Then perform several controlled aggressive stops from 40 mph to 10 mph in quick succession. Allow a five-minute cooling period with moderate driving. Proper technique guarantees ideal stopping power, reduced noise, and extended pad life – but there’s more to maximizing your brake performance.
key Takeaways
- Perform 6-10 moderate stops from 30-35 mph to 5-10 mph to warm up the brakes initially.
- Execute controlled aggressive stops from 40 mph to 10 mph in quick succession to establish proper pad material transfer.
- Drive at moderate speeds for five minutes after aggressive stops to allow proper cooling period.
- Avoid aggressive braking or prolonged stops during the first 200 miles after the break-in process.
- Inspect rotors and pads for even wear patterns and proper thickness before and after the break-in procedure.
Understanding Ceramic Brake Pad Technology
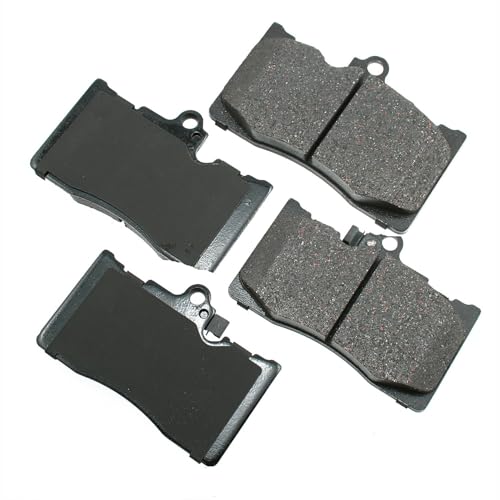
What makes ceramic brake pads stand out in modern braking technology? They’re engineered with a sophisticated composition chemistry that includes ceramic fibers, resins, abrasives, fillers, and lubricants – typically 10 to 20 ingredients working together to optimize friction and wear characteristics.
Ceramic brake pads represent cutting-edge engineering, blending multiple materials to create optimal friction and durability in modern braking systems.
Since their introduction in the mid-1980s, ceramic brake pads have revolutionized braking technology with their superior durability and performance. While they may have higher initial costs, their long-term benefits often justify the investment.
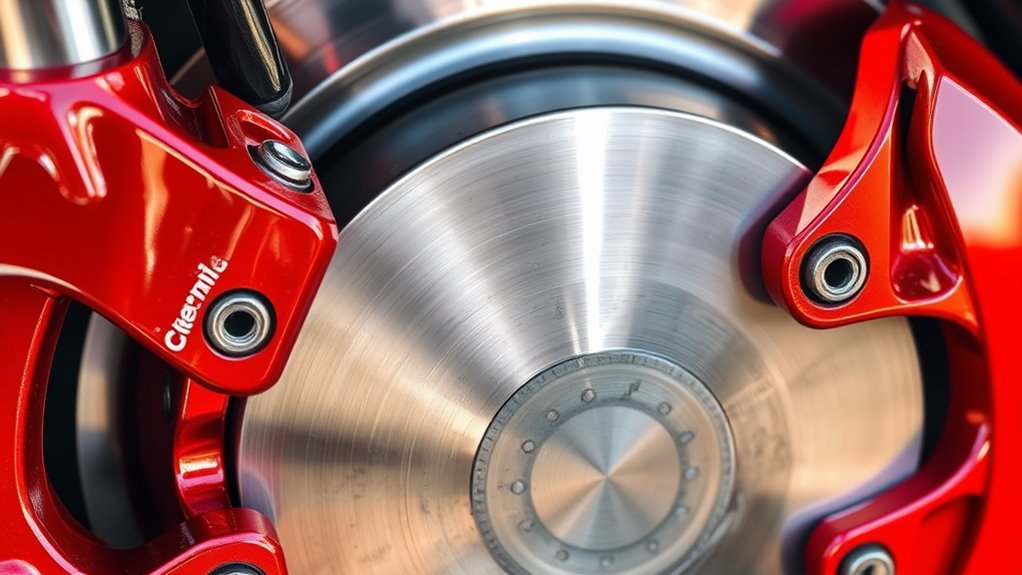
You’ll find that ceramic pads operate differently from traditional options. Instead of wearing down both pad and rotor surfaces, they create a thin friction layer on the rotor that enhances braking control. Their thermal management capabilities are superior, dissipating heat effectively across a wide temperature range while maintaining consistent friction levels. This stability prevents brake fade during intense use.
The dense ceramic structure also acts as a vibration dampener, reducing brake squeal and producing minimal, lighter-colored brake dust that’s less likely to stick to your wheels.

Essential Tools and Safety Equipment
Before breaking in your ceramic brake pads, assembling the right tools and safety equipment is crucial for both effectiveness and protection. You’ll need calibrating tools like a socket set, floor jack, and jack stands for proper installation. Don’t forget wheel chocks to secure your vehicle during the process. Investing in quality basic hand tools can save substantial money on brake maintenance over time.
Safety equipment requires careful maintenance and includes essential items like safety glasses, gloves, and a respirator to protect against brake dust. Keep a fire extinguisher nearby when handling brake fluid, and make sure your first aid kit is readily accessible. When working near traffic, you’ll need reflective vests or cones for visibility. Find an empty road to safely complete the bedding process without interruptions.
Before starting any brake work, verify your brake fluid test kit readings and inspect all your tools for proper functioning. This systematic approach to maintaining safety equipment guarantees a secure working environment during the brake pad break-in process.
Pre-Installation Rotor Inspection
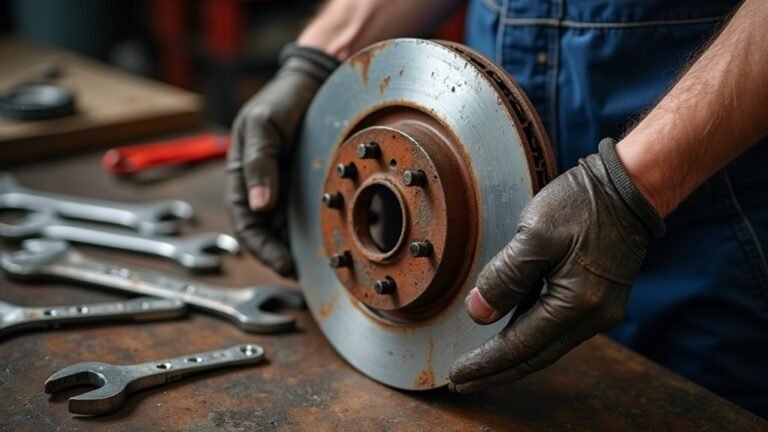
A thorough rotor inspection stands as your first critical step when installing ceramic brake pads. Begin with a detailed visual examination, checking for scoring, grooves, and uneven wear patterns on the rotor surface. Use a micrometer or caliper for precise rotor thickness measurement across multiple points to verify it meets manufacturer specifications. When measuring components, brake pad thickness should be at least 3mm for safe operation. Take note that excessive rust on rotor surfaces requires replacement rather than resurfacing.
Listen for grinding noises during brake operation and feel for vibrations that might indicate warping. If you detect these issues, you’ll need to evaluate rotor resurfacing considerations. Check whether the remaining rotor thickness allows for machining, or if replacement is necessary. Don’t skip inspecting the rotor’s compatibility with ceramic pads – the material composition and heat dissipation characteristics must align with your new brake pad specifications. Document all measurements and observations for future reference.
Step-by-Step Break-In Process
Three distinct phases define the ceramic brake pad break-in process: initial warm-up, controlled aggressive stops, and cooling. Begin with initial heat management by executing 6-10 moderate stops from 30-35 mph to 5-10 mph, spacing each stop 30 seconds apart. Don’t come to a complete halt during this phase. This careful process is essential since skipping the proper bedding procedure can result in compromised braking performance. Using drilled or slotted rotors may require slight modifications to this procedure.
Next, perform five aggressive stops from 40 mph to 10 mph in quick succession to achieve even pad transfer onto the rotors. You’ll notice a resin smell as the pads heat up – this is normal. If traffic forces a stop, shift to neutral or allow slight rolling to maintain rotor temperature.
Finally, drive at moderate speed for five minutes without heavy braking, allowing proper cooling and resin curing. Once cooled to normal operating temperature, you can use your brakes regularly.
Common Mistakes to Avoid
When installing ceramic brake pads, several pivotal errors can compromise both safety and performance. One of the most significant incorrect installation risks involves failing to guarantee proper contact between the pad and rotor, which can severely reduce braking efficiency. You’ll also want to avoid excessive heat buildup by allowing adequate cooling periods after heavy brake usage. While ceramic pads offer quieter operation, this advantage can be negated by improper installation.
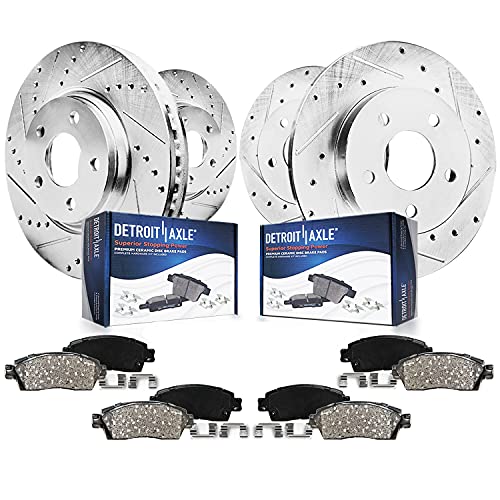
Don’t overlook the essential step of thoroughly cleaning rotors and pads before installation, as debris can interfere with best-in-class performance. Before installation, ensure you have proper tools needed to safely complete the job. Aggressive driving dangers are particularly relevant during the initial period after installation – you’ll need to avoid hard braking and high-speed stops until the pads have properly settled. Always follow your manufacturer’s specific guidelines, as deviating from these instructions can lead to premature wear and compromised brake function.
Signs of Successful Bedding
Properly bedded ceramic brake pads exhibit several distinct indicators that confirm successful installation and break-in. You’ll notice a smooth, consistent brake pedal response without sponginess or vibration during normal driving conditions. Visual indicators include a characteristic blue tint on your rotors and a uniform gray film from pad material transfer. Gentle braking should be performed before beginning the main break-in procedure to ensure optimal results.
Your brakes should deliver improved stopping power without temperature fluctuations affecting performance. You’ll experience reduced brake fade during repeated use and consistent braking across various driving conditions. Performance driving enthusiasts often prefer ceramic pads for their superior heat management and low dust production. After the bedding process, guarantee you’ve allowed the system to cool completely before resuming normal driving. For ceramic setups specifically, you might need multiple bedding cycles to attain ideal results. Remember to perform all brake tests in a safe, controlled environment while monitoring for any signs of overheating or unusual noise.
Maintenance Tips After Break-In
Regular maintenance after breaking in ceramic brake pads guarantees favorable performance and durability of your braking system. You’ll need to inspect brake pads regularly for wear, monitor stopping power, and maintain proper fluid levels. Apply brake lubricant to moving brake components during routine inspections to prevent premature wear and squealing.
Use brake cleaner spray to properly clean new brake components before installation. Establish a brake maintenance scheduling routine every 10,000 to 15,000 miles, checking fluid flush frequency according to manufacturer specifications. You should clean brake discs with appropriate cleaning spray, inspect rotors for warping, and verify correct pad alignment. Document all maintenance for future reference.
Adapt your driving habits to protect your newly bedded brakes. Avoid aggressive braking, prevent excessive heat buildup, and allow proper cooling periods after extended use. Don’t drag your brakes while driving, and consider upgrading to high-performance pads if your usage patterns demand enhanced durability.


Troubleshooting Break-In Issues
Even with careful maintenance, ceramic brake pad break-in problems can occur and require systematic diagnosis. If you’re experiencing brake judder or vibration, check for improper pad deposition caused by uneven material transfer. You’ll need to inspect your rotors for hot spots or glazing from overheated brake components during the bedding process. Allowing 30 seconds between brake applications helps prevent damage during break-in.
Check your rotor surfaces for damage or contamination that could prevent proper material transfer. If you smell burning resin but notice inconsistent pad imprints, you may need to repeat the break-in procedure. When troubleshooting, verify you’ve followed the manufacturer’s specific bedding instructions rather than generic methods. Using a C-clamp method with an old brake pad can help ensure even compression when reinstalling calipers.
Pay attention to stopping patterns – if you’ve made complete stops during break-in or held constant pedal pressure while stationary, you’ll likely need to address uneven friction material deposits.

Performance Benefits of Proper Break-In
When ceramic brake pads are correctly broken in, they deliver a powerful combination of enhanced stopping power and prolonged component life. You’ll experience smoother braking performance and considerably reduced noise levels during operation. The proper break-in process optimizes the interaction between your pads and rotors, ensuring improved heat dissipation through the copper fibers embedded in the ceramic material. The reduced brake dust production means your wheels stay cleaner longer compared to other pad types.
The bedding procedure creates an even transfer layer on your rotors, leading to enhanced vehicle safety through consistent stopping power. You’ll notice your brakes respond more predictably, with minimal fade during heavy use. The controlled heating and cooling during break-in also releases gases from the pad material, preventing potential performance issues. This optimization results in brakes that operate quietly, efficiently, and reliably throughout their extended service life. The kinetic energy conversion during braking generates significant heat, making proper break-in crucial for optimal performance.